 11
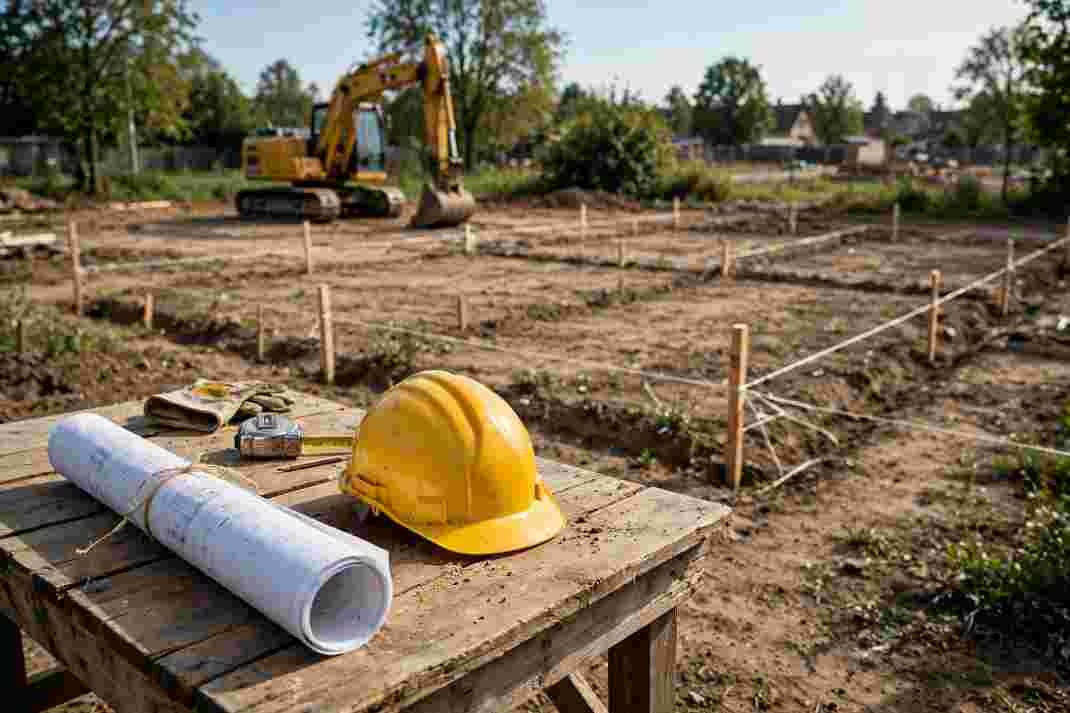
Learning how to start building a house means accepting that the first year of the project happens on paper, in county offices, and across conference tables, not on a graded lot. The families who get hurt worst are usually the ones who ordered excavation in month one and discovered a wetland setback or a blown budget in month five.
The sequence below runs from raw curiosity to signed construction contract, and it reflects how a licensed builder actually walks a client through the front end of a custom home.
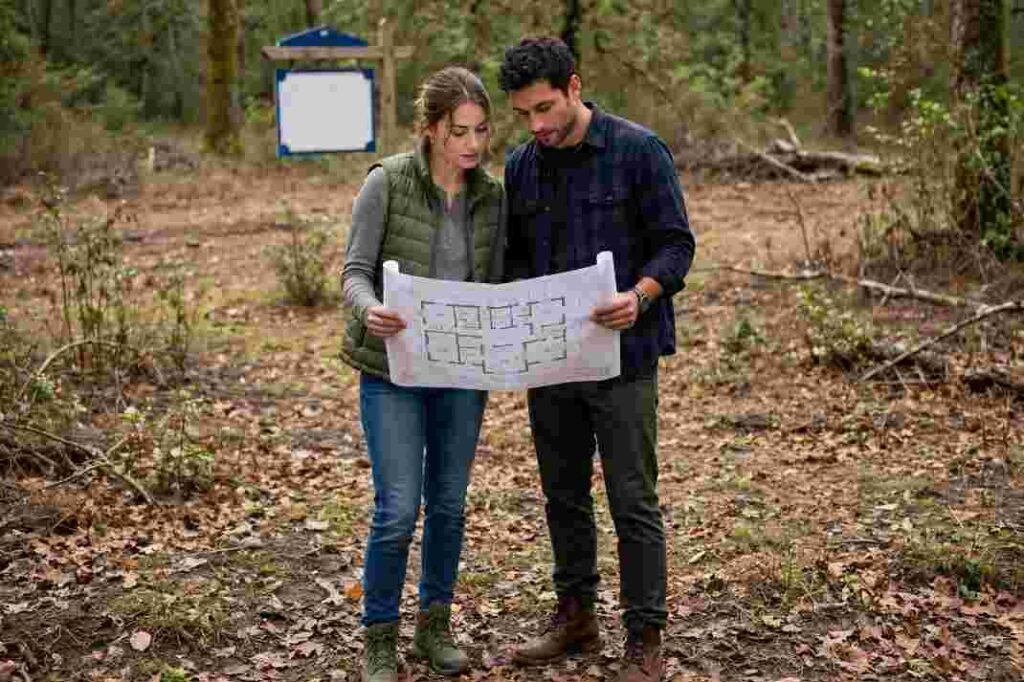
Most first-time builders reverse the order. They fall in love with a wooded parcel on a Saturday drive, then discover the house they wanted in their head cannot fit on it without a variance or a retaining wall priced like a used sedan.
Knowing how to start building a house properly means writing a short project brief before you ever call an agent: rough square footage, number of bedrooms, whether you want a garage bay for a workshop, how long you intend to stay, and what you refuse to compromise on. That brief becomes the filter for every parcel and every floor plan you evaluate afterward.
Before committing to a new build, prospective homeowners should also compare the advantages and trade-offs of new construction vs. resale to determine which option better suits their budget, timeline, and long-term housing goals.
Be honest about the difference between a custom build and a production build. A tract builder selling in a subdivision offers a short menu of plans and finishes with a fixed delivery window, while a custom builder starts from a blank page and charges accordingly. Your brief should state which model you can actually afford and tolerate, because switching midstream is where budgets die.
Construction financing does not behave like a mortgage on an existing house. A lender typically approves you against a draw schedule, releasing funds in stages as inspectors confirm completed work, which means you need cash reserves to bridge the gaps between draws and to cover overages the appraiser will not recognize.
Talk to at least two lenders who specialize in construction loans before you make an offer on land, and ask each one directly what contingency they require, how many draws they allow, and what happens if the build runs long.
Build in a contingency line of your own on top of whatever the lender demands. Site work is the routine culprit: a lot that looks flat can hide rock, fill dirt, or a high water table, and none of that appears in the listing photos.
The U.S. Department of Housing and Urban Development publishes buyer resources and fair housing guidance that are worth reading before you sign anything tied to a federally related loan.
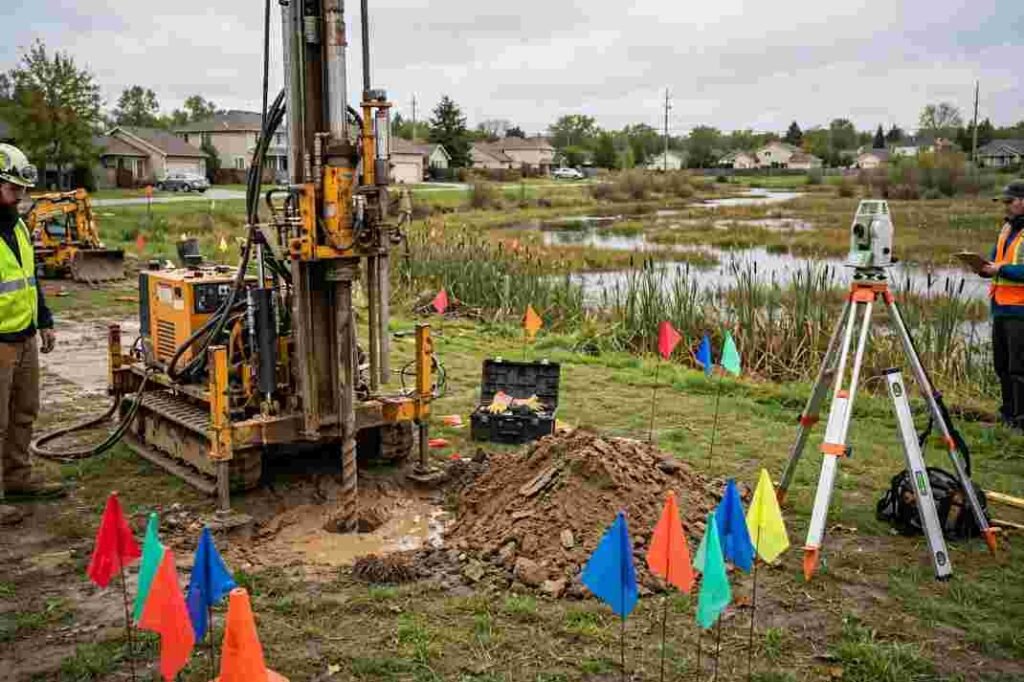
Before you commit to a parcel, pull the zoning classification and the recorded plat from the county. You want to know the setbacks, the maximum lot coverage, the height limit, and any easements that slice through the buildable area for utilities or drainage. A parcel can be legally buildable and practically unbuildable at the same time, and the difference shows up in your foundation quote.
Ask three questions of every lot: where the septic system or sewer tap goes, whether the parcel sits in a floodplain, and what the utility connection costs will be.
The FEMA Flood Map Service Center lets you check flood zone designation by address, and the answer can change both your insurance and your foundation design. Soil testing comes next, because a geotechnical report is what tells an engineer whether you need standard footings or something far more expensive.

How to start building a house without a coherent drawing set is a question with no good answer. You need an architect or designer who produces permit-ready plans, a structural engineer who stamps the framing and foundation details, and eventually a builder who prices the work. Some firms deliver all three under one roof, which simplifies coordination but can limit your competitive bidding later. Decide early whether you want a design-bid-build arrangement or a design-build contract, because the two carry very different risk profiles for an owner.
Expect the design phase to take longer than the construction phase. A custom plan set commonly runs several months once you account for revisions, engineering review, and client decisions on finishes. Every week spent resolving layout conflicts in the drawings is a week you are not paying a crew to stand around.
The permitting stage is where optimism meets the counter. Most jurisdictions require a building permit, a grading or site disturbance permit, and separate trade permits for electrical, plumbing, and mechanical work, and some add design review or architectural approval on top. Fees vary wildly by municipality and are usually calculated against project valuation, so ask the building department for a fee schedule and a current submittal checklist rather than guessing from forum posts.
The International Code Council publishes the model codes most U.S. jurisdictions adopt, and knowing which edition your county enforces helps your designer produce drawings that pass review on the first or second cycle instead of the fourth. Inspection schedules matter too: a foundation inspection that slips three days stalls the entire framing crew behind it.
| Preconstruction Stage | Typical Duration | Primary Output
|
|---|---|---|
| Project brief and budget modeling | 2 to 6 weeks | Written scope and financing target |
| Land search and due diligence | 1 to 6 months | Closed parcel with verified constraints |
| Design and engineering | 2 to 5 months | Permit-ready drawing set |
| Permit review and issuance | 1 to 4 months | Approved permits and fee receipts |
| Contractor bidding and award | 3 to 8 weeks | Executed construction contract |
Price is the least useful way to compare builders. Ask each candidate for a license number you can verify with the state, a certificate of insurance naming you as additional insured, and three completed projects of similar scope you are allowed to visit in person. Call the owners. Ask whether the final change order total stayed within the original allowance and whether the builder returned calls after the punch list was signed.
Beyond verifying the general contractor’s credentials, homeowners should understand how to hire construction workers to ensure the project has access to qualified tradespeople for each stage of construction.
Read the contract before you read the schedule. You want a written scope that names allowances for fixtures and finishes, a defined change order procedure, a retainage provision, and a clear statement of who carries the risk for unforeseen site conditions. A builder who resists putting those terms in writing is telling you something useful about how the project will go.
While the drawings sit in plan review, your attorney and title company should be closing out the legal side. That means confirming clear title on the land, recording any deed restrictions, and putting builder’s risk insurance in place before a single delivery of lumber hits the site. Owner-builder arrangements shift substantial liability onto you, including the obligation to carry general liability and workers compensation coverage that a licensed general contractor would otherwise hold.
The Occupational Safety and Health Administration publishes construction industry standards that govern fall protection, scaffold use, and site housekeeping on any active jobsite, and those obligations do not disappear because you are building your own home rather than running a company. Confirm in writing who is responsible for site safety compliance before mobilization day.
The final piece of how to start building a house is figuring out how you will manage information once work begins.
Set a standing weekly call with the builder, insist that every verbal decision gets confirmed by email within a day, and keep a single project folder for permits, invoices, change orders, and inspection reports. Memory is unreliable across a ten month build, and disputes almost always trace back to a conversation nobody wrote down.
Expect the schedule to move. Weather, inspection backlogs, and long lead items like windows and cabinetry routinely push dates, so build float into the calendar rather than assuming the first published timeline is the real one. An owner who understands the draw schedule, the inspection sequence, and the change order process before the first shovel turns will spend far less time arguing and far more time watching a house go up.