 11
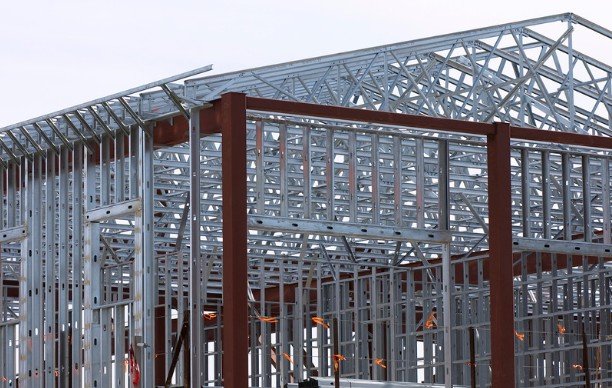
Learning how to insulate a metal building is mostly a decision about where the vapor barrier sits and how much uninterrupted cavity depth the panels leave you, not a decision about which product carries the best brochure. Steel structures fail thermally at the fasteners, the purlin bearing points, and the roll-up door tracks long before the field of the wall becomes a problem, and the sequence you choose determines whether condensation soaks the fiberglass in year two or stays on the warm face where it belongs.
This guide walks through the material choices, the installation order, the cost picture, and the mistakes crews repeat on shop buildings and barndominiums across the country.
A clear span shop, a barndominium, and a storage shed share the same steel skin but carry completely different thermal expectations. Deciding how to insulate a metal building begins with identifying the structural conditions: bay spacing, purlin gauge, whether the frame is primary or secondary, and whether the building is conditioned year round.
Owners who plan to heat or cool the space need a continuous control layer on the warm side. Owners who only want to stop condensation need far less material and should not buy a full batt package just because a supplier promoted one.
The Metal Building Manufacturers Association publishes technical material on condensation control that every owner should read before ordering a single roll, because the vapor retarder face matters more than the R value printed on the packaging. The MBMA keeps a library of guidance on condensation and thermal performance that clarifies the difference between a facing meant to resist moisture and a facing meant to look neat.
Three scenarios dominate real jobs. A climate controlled shop building needs cavity insulation or spray foam plus a rated vapor retarder. A barndominium needs wall, ceiling, and often slab edge treatment because people live in it. A cold storage or equipment shed on a farm usually needs condensation control only, which is a different problem from heating load.
The most common answer to how to insulate a metal building with fiberglass is a laminated blanket with a white vinyl or foil facing, compressed between the purlins and the roof panel or between the girts and the wall panel. The facing becomes the interior finish, the vapor retarder, and the visible surface in one step, which explains its popularity on shop buildings where the owner wants a clean interior without adding separate drywall. The tradeoff is compression: any blanket pinched at a purlin loses thermal value at that point, and those losses compound across a roof.
Standard practice for roof systems is to support the blanket with a facing and to lap the facing over the purlin before the next roll begins, so the vapor retarder is continuous. Wall blankets follow the same logic on the girt side. Both require care at penetrations, because a hole cut for a conduit or a heater flue is a direct path for moisture-laden air to reach cold steel.
A liner system installs a separate fabric or vinyl sheet inside the girts and leaves a service cavity behind it, which keeps the insulation blanket protected and creates a clean place to run conduit. An exposed facing system shows the blanket face directly and is cheaper and faster, but it limits future electrical work because every added circuit means cutting the face. Owners who plan to add compressed air lines, dust collection, or welding circuits later should seriously consider the liner.
The U.S. Department of Energy maintains insulation guidance that includes recommended R values by climate zone, which is the correct starting point for sizing a blanket rather than guessing. Buy the depth the zone calls for, then verify the purlin depth can accept it without crushing the material at bearing points.
Closed cell spray foam solves the condensation problem outright because it seals the steel surface and eliminates the convective loop that forms between a metal panel and a fibrous blanket. The cost per square foot is significantly higher, and the applicator must be a competent contractor rather than a trim carpenter with a rented rig. On barndominiums and climate controlled shops the foam route is often the only way to get an airtight assembly, and the resulting wall or roof assembly meets the intent of a continuous thermal barrier if installed to the correct thickness.
Rigid polyiso or EPS board works in retrofit situations where the interior is already finished and the owner wants to add thermal resistance from the inside without a full teardown. When comparing new construction VS resale, buyers should factor in the labor involved in upgrading an existing building’s insulation. Cutting board to fit between girts, taping seams, and covering the face with a liner is labor heavy but often the only practical option on an existing building.
| System | Best For | Condensation Control | Relative Cost per Sq Ft | Installation Difficulty
|
|---|---|---|---|---|
| Faced fiberglass blanket | Shops, sheds, budget builds | Moderate if lapped correctly | Low | Low to moderate |
| Blanket with liner system | Shops with future electrical work | Moderate | Moderate | Moderate |
| Closed cell spray foam | Barndominiums, conditioned buildings | High | High | High (specialty trade) |
| Rigid board retrofit | Existing finished interiors | Low to moderate with taped seams | Moderate | High (labor intensive) |
The order of operations on any building with steel skin is the part crews get wrong, and it rarely shows up until the second winter. The general principle is that the vapor retarder must sit on the warm side of the insulation and must be continuous, with no gaps at the eaves, ridge, or wall to roof junction. Any break in that plane allows interior moisture to reach the cold steel sheet, where it condenses, drips, and eventually corrodes fasteners and soaks the blanket.
The order matters because the eave junction is where most assemblies fail. Roof blanket installed after the walls often leaves a horizontal gap at the top plate, and that gap forms a convective loop that pulls warm air up into the roof cavity. Installing roof blanket first and then tying the wall facing into it prevents that loop. The Occupational Safety and Health Administration construction guidance on fall protection applies throughout this work because most of it happens at height on purlins.
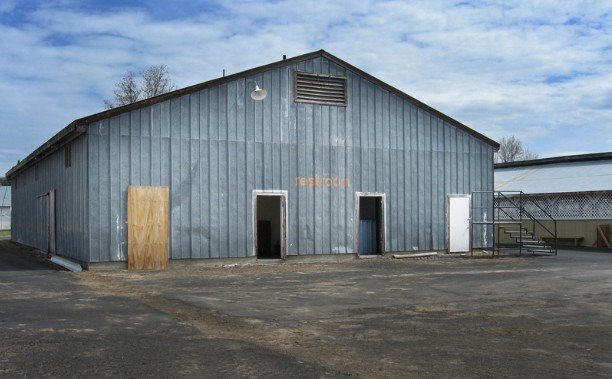
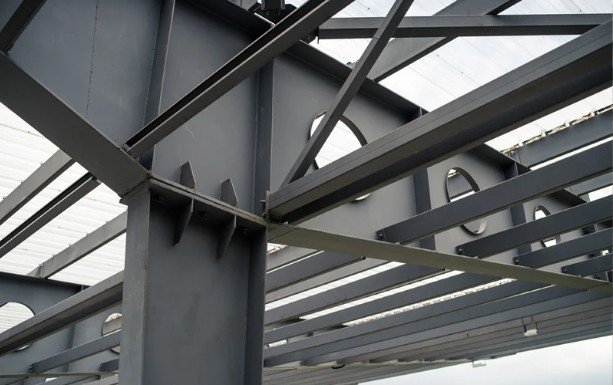
Steel conducts, and the physical facts of a metal building mean the purlins and girts act as thermal highways straight through any blanket pinched between them. Thermal bridging is not a cosmetic concern, it changes the effective R value of the whole assembly and creates cold spots where condensation forms first. Continuous liner or foam that creates a break at these points is the only real fix, and building codes now recognize continuous insulation as a separate line item on the compliance path.
Practical mitigation includes using a thermal break tape or a spacer over purlin bearing surfaces before laying the blanket, and avoiding compressed blankets at transitions. On retrofit jobs, adding a thin layer of rigid board over the girts before installing the liner is the cheapest way to reduce bridging without replacing the main insulation layer. Owners should understand that a nominal R 19 blanket in a real steel purlin condition may perform like something lower once bridging is accounted for, and the plans should reflect that reality.
Owners frequently ask what the per square foot number is, and the honest answer is that the number depends on which assembly is chosen and which contractor does the work. A basic faced blanket on a simple gable roof costs far less per square foot than a closed cell foam application, but the blanket assembly also needs careful lapping and a separate condensation strategy.
A liner system that runs every wall and both gable ends adds to the total, but it simplifies future work and produces a cleaner interior, so owners sometimes pay for it in one pass rather than two. Budget lines that get missed include the sealing tape and facing fasteners, the additional labor for cutting around doors and windows, the interior lighting coordination that liner systems require, and the eventual replacement cost if a blanket gets wet.
Just as a plan to build a bridge over water must account for more than the main structural materials, an insulation budget must include supporting components and installation details. Any of those items can erode the apparent savings between two bids, so compare quotes assembly by assembly, not by a single square footage figure.
A useful bid request for a project on how to insulate a metal building specifies the target R value, the vapor retarder class, the facing type, the treatment at the eave and ridge, and the sealing method at all penetrations. Contractors bidding to the same specification will produce comparable numbers, and the differences will be meaningful rather than cosmetic. Require the contractor to show the condensation strategy in writing, since that is where problems usually begin.

Climate zone drives both the R value target and the vapor strategy. In mixed and cold climates, the vapor retarder must be on the interior face and must be well sealed, because moisture from heating season accumulates quickly against cold steel. In hot humid climates, the wall behavior flips and the outward driven moisture problem needs attention at the exterior sheathing or in the choice of a permeable interior facing. The National Oceanic and Atmospheric Administration maintains climate data by region that helps a designer convert a national chart into a specific site choice.
Barndominium buyers should ask specifically about slab edge insulation and the transition between the steel wall and the slab, because that junction often forms a bridge from the cold ground into the interior finish. Shop owners who use the space only intermittently should consider whether full cavity insulation is worth the cost versus a condensation control approach that keeps the steel dry during swing season use.
Crews pricing work on how to insulate a metal building ask a short set of questions before they put a number down: is the space conditioned year round, how many doors and windows break the wall plane, what climate zone is the site in, does the owner plan to add electrical or air lines later, and is the roof pitch shallow enough to install blanket safely from a lift.
Answers to those five questions typically separate a straightforward blanket job from a project that needs a liner system or a foam assembly. Old buildings with rusted purlins sometimes need repair before insulation, and the contractor should inspect and document those conditions during the site visit.
The finish line for how to insulate a metal building is the point at which the vapor retarder is continuous, the penetrations are sealed, the fasteners are tight, and the assembly has been verified by walkthrough before fixtures go in. Owners who treat that checklist as the actual deliverable rather than a courtesy step get an assembly that performs for decades, and the contractors who install to that standard build a referral base without advertising.
The remaining variable is documentation: photograph the installation at each stage, file the product data sheets, and keep the specification attached to the building records so that future modifications do not unknowingly break the control layer.
Every future change to a steel building interior, from a new exhaust fan to an added circuit, is a chance to compromise or improve the boundary. Decide now who owns that boundary, put it in the maintenance file, and treat every penetration like a structural detail rather than a convenience hole.